Sign in
Sign up
Search for:
Projects
Gallery
Courses
Looks like you got lost!
We couldn’t find the page you were looking for.
Go Home
Forum Description
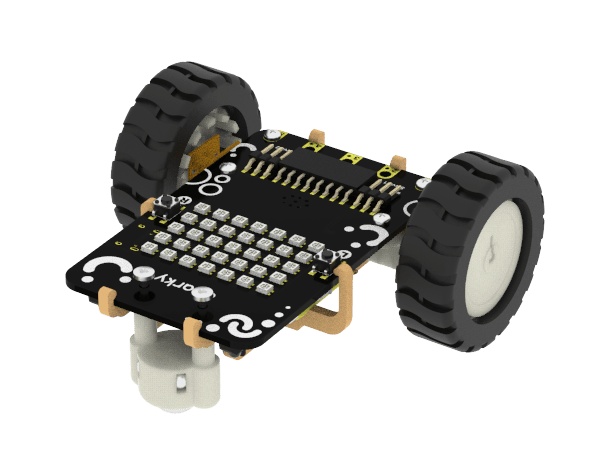
In this topic, we will see how to assemble the Horizontal Robot.
Note:
If you already have your robot assembled, then you can skip to the next topic.
Components Required
You can final all the components required to assemble the robot in the Innovator Kit:
Castor Wheel
Motors
Wheels
Motor Holders
Bolts
Nuts
Battery
Plastic Parts - Purple
Screw Driver
Assembly
Mount the motor:
Mount the motor to the Quarky board on the backside using M2 bolts and motor bracket as shown in the image:
Note
:
Tighten the bolts using the screwdriver provided in the kit.
Attach the motor connectors on Quarky’s backside. Make sure you attach the motors to the corresponding pins:
Red is Left and Blue is Right.
Attach the wheels to the motor as shown in the image:
Attach the
castor wheel
using two
spacers
and the
bolt
.
Insert the
Battery
and place it on the backside.
Keep the red wire on the right side
.
Assemble the wooden mounting parts.
Snap the
battery holder
on the bottom of the robot as shown in the image.
Snap the
battery holder lock
on top of the
battery holder
matching the lock as shown in the image. Your battery is now secured.
Your robot is now assembled and ready to run!